Did you know that the global nail polish market is expected to reach $15 billion by 2024? It’s no surprise—nail art has become a favorite pastime for many women, offering a fun way to express creativity and style. Whether you’re a newbie or a seasoned nail artist, there’s always something new to learn and try. In this blog, we’ll explore everything about nail art, from its origins to trendy designs, and even some unexpected uses of nail polish.
Table of Contents
- What are Nail Art Designs?
- Types of Nail Art
- How to Choose Nail Art?
- Nail Art Designs for Beginners – Without Tools
- Trendy Nail Art Ideas for Experts with Tools
- Fun and Unusual Uses of Nail Polish
What are Nail Art Designs?
Nail art designs are decorative patterns, colors, and embellishments applied to fingernails and toenails. This art form has ancient roots, dating back to 3000 BC in China, where people used ingredients like beeswax and gelatin to create nail polish. Nail art has evolved significantly over the centuries, becoming a popular beauty trend in the modern era.
Types of Nail Art
Nail art offers various techniques to suit every skill level and style. Let’s explore some popular types of nail art to inspire your next manicure masterpiece.
1. Freehand Nail Art
Involves painting designs directly onto the nail using brushes and nail polish. This technique requires a steady hand and good eyesight. Freehand designs can range from simple lines and dots to elaborate scenes.
2. Stencils and Stickers
Stencils and stickers are perfect for those who want professional-looking designs with minimal effort. They come in a variety of shapes and patterns, allowing you to create intricate designs easily.
3. Stamping
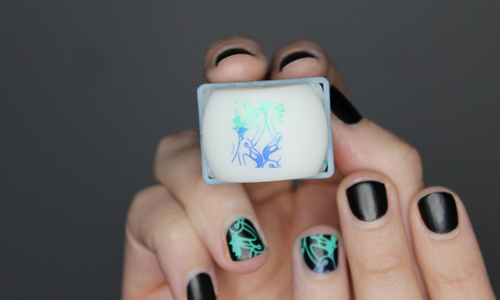
Stamping is a popular technique that uses metal plates with engraved designs that you transfer onto your nails. It’s a quick and efficient way to achieve detailed designs.
4. Water Marbling
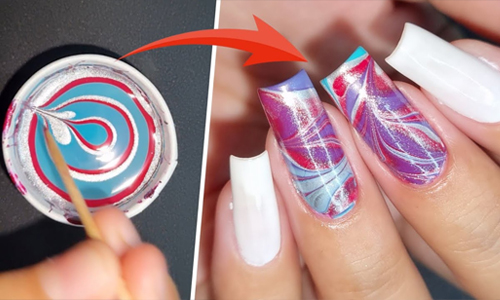
Water marbling involves creating a design on the surface of the water and then dipping your nail into it to transfer the design. It’s a mesmerizing technique that yields unique results every time.
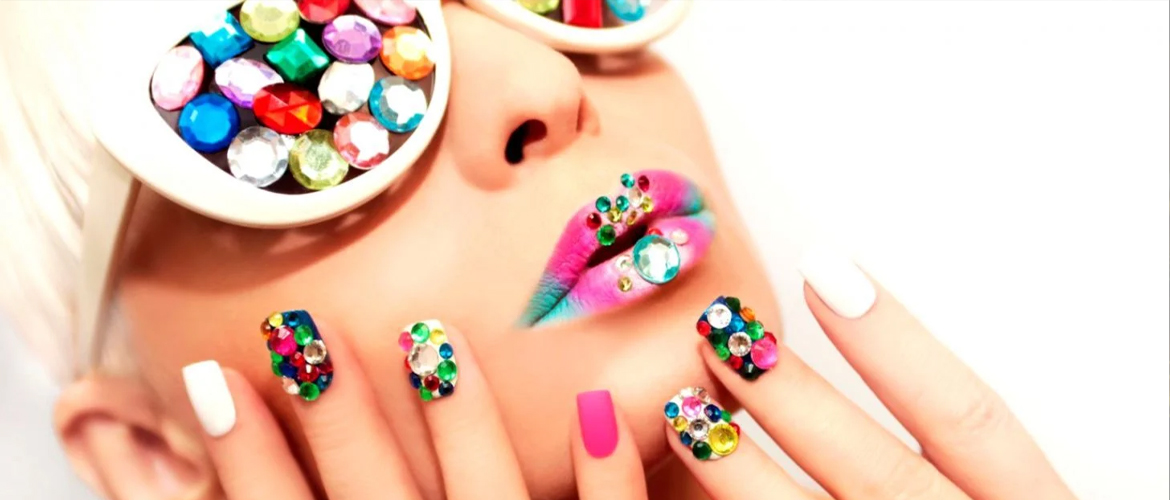
5. 3D Nail Art
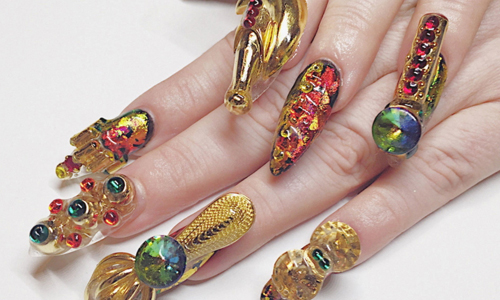
3D nail art adds embellishments like gems, pearls, and acrylic shapes to create a textured, eye-catching look.
How to Choose Nail Art?
When it comes to picking out the perfect nail art design, there are a few key things to keep in mind. Here’s how to ensure your nails look fabulous every time:
- Skin Complexion: Your skin tone can influence which colors and designs will look best. Fair skin pairs well with pastel shades and soft hues, while deeper tones can rock vibrant and bold nail colors.
- Nail Shape and Length: The shape and length of your nails play a big role in determining the best designs. Short nails look great with simple, minimalist designs, whereas longer nails provide a larger canvas for intricate patterns.
- Occasion and Season: Consider the event and the time of year. For a summer beach party, go for bright, fun colors, and for a winter holiday party, think sparkles and festive themes.
- Personal Style: Your nails should reflect your personality. Are you into classic and chic looks, or do you prefer something edgy and bold? Let your nails be an extension of your unique style.
- Maintenance Level: Be honest about how much upkeep you’re willing to do. Some designs may require frequent touch-ups, while others are low maintenance and perfect for busy lifestyles.
By keeping these tips in mind, you’ll always have nails that not only look stunning but also fit perfectly with your lifestyle and personal flair.
Nail Art Designs for Beginners – Without Tools
You don’t need a professional kit to create beautiful nail art. With a few simple household items, you can achieve stunning designs that will make your nails stand out. Here are some easy and fun ideas to try at home with these simple and easy freehand nail art:
1. Polka Dots

Polka dots are a timeless and playful design that’s perfect for beginners.
Materials Needed: Toothpick or bobby pin.
Steps:
- Apply a base coat to protect your nails and prevent staining.
- Paint your nails with your chosen base color and let them dry completely.
- Dip the tip of a toothpick or bobby pin into a contrasting nail polish color.
- Gently press the toothpick or bobby pin onto your nail to create small dots. Space them evenly or randomly for different effects.
- Once the dots are dry, seal your design with a clear top coat to add shine and longevity.
2. Striped Nails
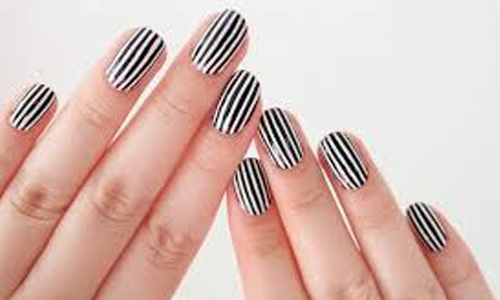
Striped nails offer a sleek and modern look that’s surprisingly easy to achieve.
Materials Needed: Tape or striping tape.
Steps:
- Start with a protective base coat.
- Apply a base color and allow it to dry completely.
- Cut small strips of tape and place them on your nails in the desired pattern. Ensure the tape is firmly pressed down to prevent polish from seeping underneath.
- Paint the entire nail with a contrasting color.
- Carefully remove the tape strips while the polish is still wet to reveal clean, sharp lines.
- Finish with a top coat to protect your stripes.
3. Ombre Nails
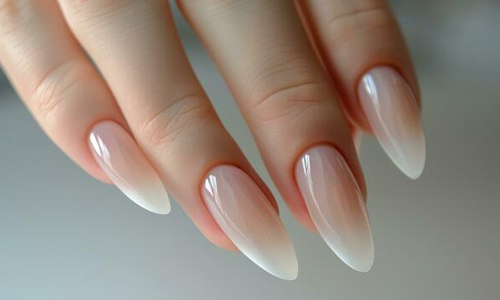
Ombre nails blend colors seamlessly for a gradient effect that’s both chic and versatile.
Materials Needed: Sponge (makeup sponge works well).
Steps:
- Protect your nails with a base coat.
- Apply the lightest color as your base and let it dry.
- On a small piece of sponge, paint stripes of your chosen colors next to each other so they slightly overlap.
- Dab the sponge onto your nail, rolling it slightly to blend the colors. Repeat until you achieve the desired gradient effect.
- Use a small brush dipped in nail polish remover to clean any excess polish around your nails.
- Seal the ombre design with a top coat for a smooth finish.
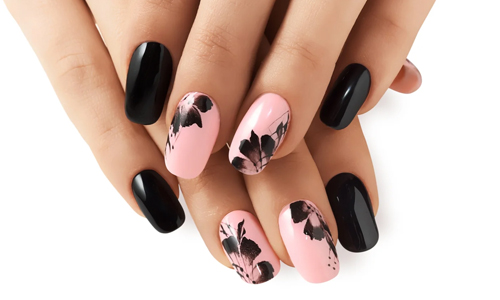
4. Flower Power
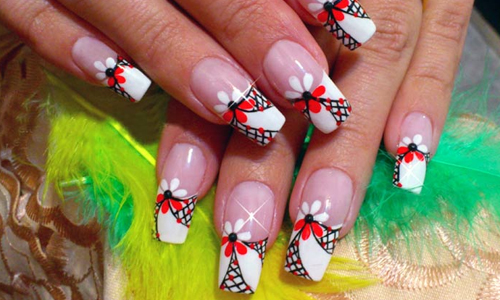
Floral designs are a lovely way to add a touch of nature to your nails.
Materials Needed: Bobby pin or toothpick.
Steps:
- Apply a base coat to start.
- Paint your nails with a solid base color and let them dry.
- Dip the end of a bobby pin or toothpick into the polish color you want for the petals.
- Create five small dots in a circle to form the petals of the flower. Use a contrasting color for the center dot.
- Add a small dot in the center of the petals using a different color.
- Once dry, apply a top coat to protect your floral design.
With these simple techniques, you can create beautiful nail art right at home, no professional tools are needed. Enjoy experimenting with these designs and let us know your results!
Trendy Nail Art Ideas for Experts with Tools
For those with a bit more experience and the right tools, here are some advanced designs to try. These designs will challenge your creativity and precision, resulting in salon-quality nails you can be proud of. Let’s check some trendy and intricate nail art ideas perfect for experts.
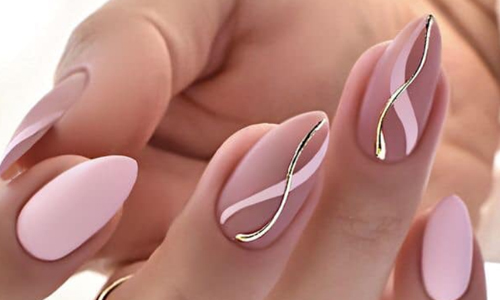
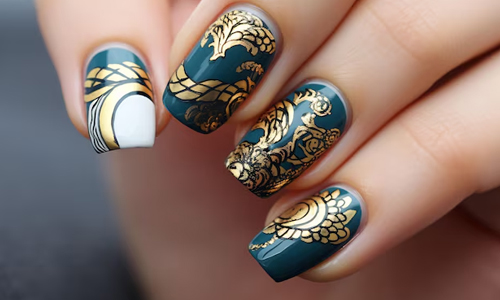
1. 3D Floral Designs
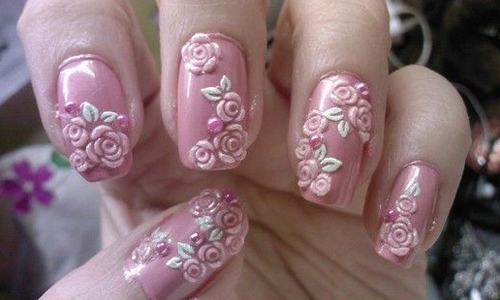
3D floral designs are a beautiful way to add texture and dimension to your nails. Here’s how to create them:
- Start with a base coat to protect your nails and provide a smooth surface.
- Choose a background color for your design and apply it evenly.
- Use acrylic powder and liquid to create small balls. Place these balls on your nails and use a sculpting tool to flatten and shape them into petals.
- Once the petals are in place, use a fine brush to add details like veins and shadows to make the flowers look more realistic.
- Finish with a top coat to protect your artwork and add a glossy finish.
2. Intricate Stamping
Stamping is a great way to achieve detailed designs with precision. Follow these steps for a flawless look:
- Select a stamping plate with your desired design. Clean it thoroughly to ensure a crisp transfer.
- Apply a generous amount of stamping polish to the design on the plate.
- Use a scraper to remove the excess polish, leaving it only in the engraved areas.
- Press a stamper onto the plate to pick up the design. Ensure the design is fully transferred to the stamper.
- Carefully roll the stamper over your nail to transfer the design. Practice on a few nails to perfect your technique.
- Seal your design with a top coat to prevent smudging and enhance longevity.
3. Marble Effect

Creating a marble effect on your nails can be mesmerizing. Here’s how to achieve this look:
- Apply a base coat and let it dry completely.
- Choose a light base color, such as white or pale pink, and apply it evenly.
- Fill a small cup with room-temperature water. Drop different colors of nail polish onto the water’s surface, allowing them to spread out.
- Use a toothpick or a thin needle to swirl the colors gently, creating a marble effect.
- Submerge your nail into the water at an angle, allowing the polish to adhere to your nail.
- Use a cotton swab dipped in nail polish remover to clean any excess polish from your skin.
- Finish with a top coat to protect the design and add shine.
4. Chrome Nails
Chrome nails offer a sleek, mirror-like finish that is truly eye-catching. Here’s how to achieve this effect:
- Apply a base coat and a black or dark-colored base polish. Dark colors enhance the chrome effect.
- Once the base color is dry, use an applicator or a soft eyeshadow sponge to rub chrome powder onto your nails. Apply it in small, circular motions for a smooth finish.
- Gently buff the powder into your nails until you achieve a shiny, reflective surface.
- Apply a water-based top coat to prevent the chrome powder from dulling. Avoid using regular top coats, as they can diminish the mirror effect.
- Once the water-based top coat is dry, apply a regular top coat for added durability and shine.
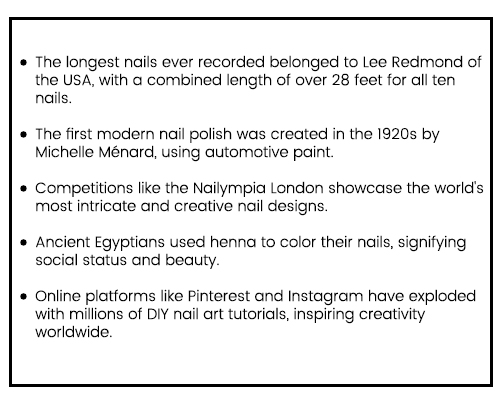
Did You Know?
Here are some more fascinating facts about nail art
Fun and Unusual Uses of Nail Polish
Here are 10 clever and unusual uses of nail polish beyond just painting your nails:
1. Seal with a Polish Kiss
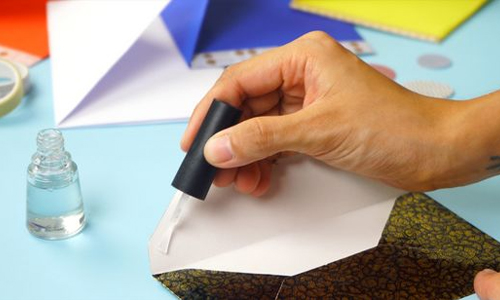
Why bother licking envelopes when you can seal them with a swipe of clear nail polish? It’s quick, secure, and mess-free.
2. No More Fraying Frenemies
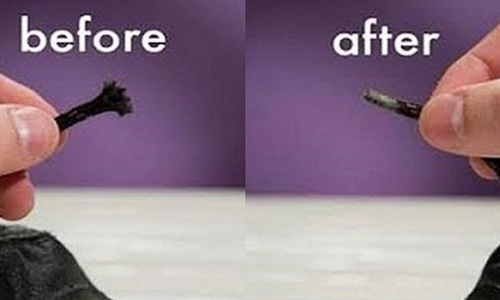
Say goodbye to frayed shoelaces and fabric edges! Just dab some clear polish on the ends to keep them neat.
3. Key Color Code Magic
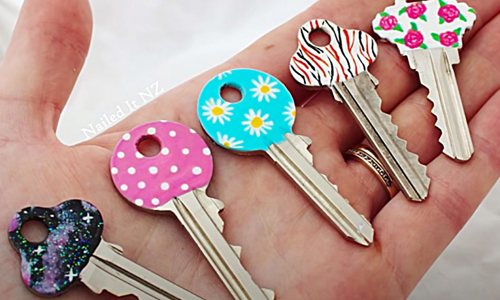
Tired of fumbling with identical keys? Give each one a unique color with nail polish for easy identification.
4. Scratch Be Gone!
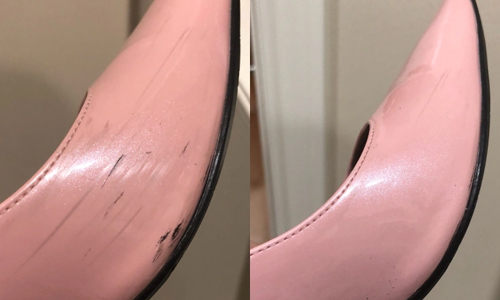
Got small scratches on your shoes or handbag? A matching nail polish can cover them up, making your items look as good as new.
5. Thread Trouble? Not Anymore!
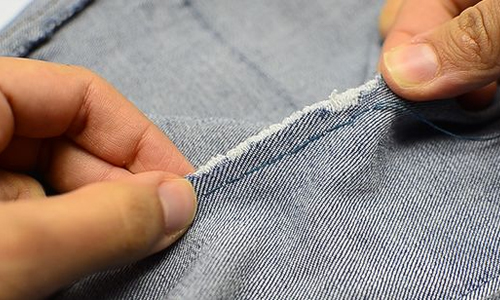
Loose threads on your favorite clothes? Seal them with a dab of clear nail polish to prevent unraveling.
6. Screw Tightening Hero
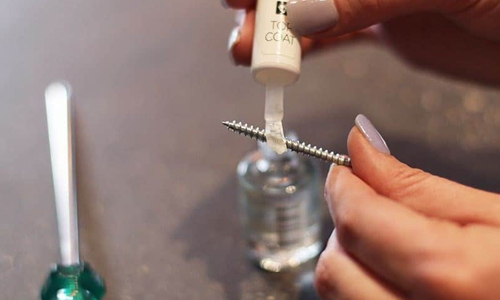
Are loose screws driving you nuts? Apply a drop of nail polish to the threads before tightening. It acts like a temporary adhesive.
7. Jewelry’s Best Friend

Keep your costume jewelry looking shiny and new by applying a coat of clear nail polish. It prevents tarnishing and prolongs its life.
8. Emergency Stocking Savior
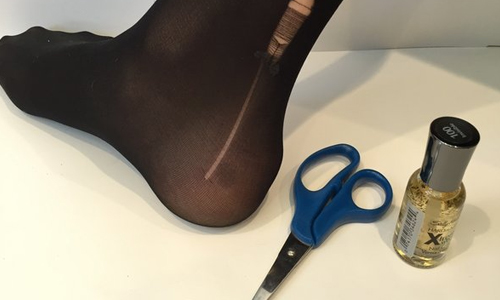
Run in your stockings? Prevent it from getting worse by brushing a bit of clear nail polish over the tear. Instant fix!
9. Label Lover’s Trick
Protect your labels from smudging or peeling by sealing them with a coat of clear nail polish. Perfect for preserving important information.
10. Slip-Proof Your Soles

Add a bit of clear nail polish to the soles of your slippery shoes for extra grip and a safer stride.
These clever hacks showcase the versatility of nail polish, turning everyday annoyances into no-sweat solutions!
Nail It!
Nail art is a fantastic way to express yourself, and with so many designs and techniques, the possibilities are endless. Whether you’re just starting or looking to take your skills to the next level, there’s always something new to try. Don’t forget to experiment with nail polish hacks to make your life a little easier. So, grab your favorite polishes and get creative—your nails are your canvas!
FAQ :
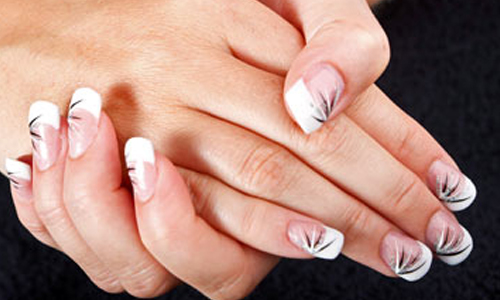
1) What are the 5 basic nail art designs?
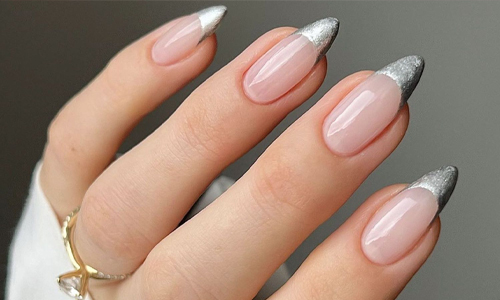
The 5 basic nail art designs are French manicures, polka dots, stripes, floral patterns, and glitter nails. These designs are simple yet stylish for any occasion.
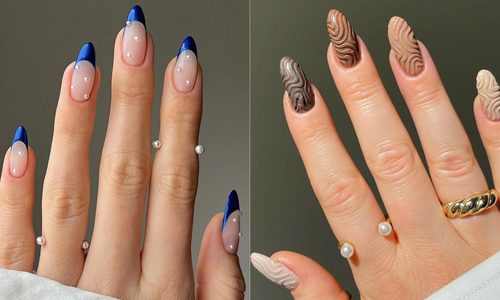
2) What nail art is popular?
Popular nail art includes ombre gradients, geometric patterns, marble effects, negative space designs, and holographic nails. These trendy styles are perfect for any occasion.
3) What is trending in nail art?
Trending nail art includes ombre gradients, geometric patterns, marble effects, negative space designs, and holographic nails, perfect for any occasion.
4) How to start nail art at home?
To start nail art at home, gather essentials like nail polish, brushes, dotting tools, and tape. Begin with simple designs like polka dots and stripes, then practice.
5) How to do sunflower nail art?
To create sunflower nail art, start with a base color, paint yellow petals using a brush or dotting tool, add a brown center, and finish with a clear top coat.
Elena
Related posts
Women Tips
Privacy Overview
| Cookie | Duration | Description |
|---|---|---|
| cookielawinfo-checkbox-analytics | 11 months | This cookie is set by GDPR Cookie Consent plugin. The cookie is used to store the user consent for the cookies in the category "Analytics". |
| cookielawinfo-checkbox-functional | 11 months | The cookie is set by GDPR cookie consent to record the user consent for the cookies in the category "Functional". |
| cookielawinfo-checkbox-necessary | 11 months | This cookie is set by GDPR Cookie Consent plugin. The cookies is used to store the user consent for the cookies in the category "Necessary". |
| cookielawinfo-checkbox-others | 11 months | This cookie is set by GDPR Cookie Consent plugin. The cookie is used to store the user consent for the cookies in the category "Other. |
| cookielawinfo-checkbox-performance | 11 months | This cookie is set by GDPR Cookie Consent plugin. The cookie is used to store the user consent for the cookies in the category "Performance". |
| viewed_cookie_policy | 11 months | The cookie is set by the GDPR Cookie Consent plugin and is used to store whether or not user has consented to the use of cookies. It does not store any personal data. |