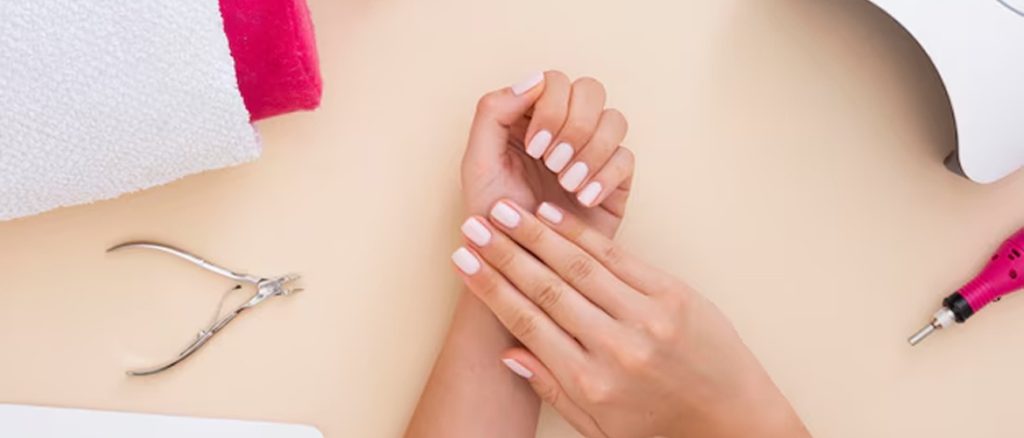
Why I Love Doing My Own Manicure at Home?
- It Saves Time & Money – Salon visits are great, but have you ever calculated how much you spend in a year? Spoiler: It’s enough for a luxurious spa weekend.
- I Can Do It Anytime – Midnight manicure? Sunday self-care session? It’s all on my schedule!
- It’s Therapeutic – Nothing like a little DIY pampering session after a long day of Zoom calls.
Steps For Professional Manicure at Home
Step 1: Prep Like a Pro (Because Rushing Leads to Disaster)
First things first, REMOVE THAT OLD NAIL POLISH! We’re not layering up like it’s a winter outfit. Grab a gentle, acetone-free remover (less drying) and get a fresh, clean slate.Pro Tip
If your nails are stained from past polishes, soak them in lemon juice for a few minutes—it works like magic! Then, trim, file, and shape your nails. I usually go for a soft square or almond shape, but you can choose your favorite!Step 2: Soak & Scrub—Like a Mini Spa Session
This is where the pampering vibes kick in!- Soak your hands in warm water for 5 minutes (add a little olive oil if you’re feeling fancy).
- Gently push back your cuticles (no cutting—this isn’t a horror movie).
- Scrub your hands with a DIY sugar scrub (mix sugar & coconut oil), and boom—baby-soft hands!
Why is this step important?
It removes dead skin, softens cuticles, and preps your nails to absorb all the goodness from the next steps.Step 3: The Secret to a Salon-Worthy Finish—Base Coat!
Skipping base coat is like skipping coffee on a Monday—a terrible idea! A good base coat:- Strengthens your nails
- Prevents staining
- Helps your polish last longer
Step 4: The Fun Part—Choosing the Perfect Polish
Now, here’s where things get exciting. Do I go for classic red, trendy pastel, or a bold black to match my “boss mode” energy?Whatever you choose:
- Apply thin coats (thick coats take forever to dry).
- Let each layer dry before adding the next.
- Use three strokes per nail—one in the center, then one on each side.
Pro Tip
If you always end up smudging your nails (like I do), keep a bowl of ice water nearby. Dip your nails in for a quick-dry hack!Step 5: Top Coat—Because You Deserve That Glossy Finish
A top coat isn’t optional—it’s the fairy godmother of your manicure! It seals in color, adds shine, and makes your manicure last longer. Apply it generously and let it dry completely.Bonus Hack
If you’re impatient (guilty!), use a quick-dry top coat or nail drying spray.Step 6: Hydration is Key—Moisturize Those Hands!
No one likes dry, flaky hands. After your polish dries:- Massage in a rich hand cream
- Apply cuticle oil for extra nourishment
- Admire your gorgeous hands like the queen you are!
Step 7: The Golden Rule—NO TOUCHING ANYTHING!
You know the struggle. You just finished your nails, and suddenly, everything in your house demands your attention—your phone, your hair, the snack you suddenly NEED to eat. Resist the urge! Let those nails set properly, or all your hard work will go to waste.Common Manicure Mistakes & How to Fix Them
| Mistake | How to Fix It |
| Smudging your polish | Dip fingers in ice water to speed up drying |
| Bubbles in polish | Roll the bottle (don’t shake!) before applying |
| Chipping too soon | Always use a base & top coat |
| Polish on skin | Use a tiny brush dipped in remover for clean edges |
Manicure Maintenance: Making It Last
A great manicure shouldn’t chip within a day! Here’s how to keep your nails flawless for longer:- Wear gloves when doing dishes (water weakens polish).
- Reapply top coat every few days for extra shine.
- Moisturize daily to prevent brittle nails.
- Avoid using nails as tools (no opening soda cans with them!).

